
Tacnode Quick Start
Get started with Tacnode quickly! This step-by-step guide will have you creating databases and running queries in just 10 minutes.
Welcome to Tacnode! This quick-start guide will walk you through setting up your first context lake and running queries in just 10 minutes.
What You’ll Learn
By the end of this guide, you’ll know how to:
- Create and configure your Tacnode Context Lake
- Connect to your database using psql
- Create databases and tables
- Insert, query, and update data
Step 1: Prerequisites
Before we begin, you’ll need to complete these quick setup steps:
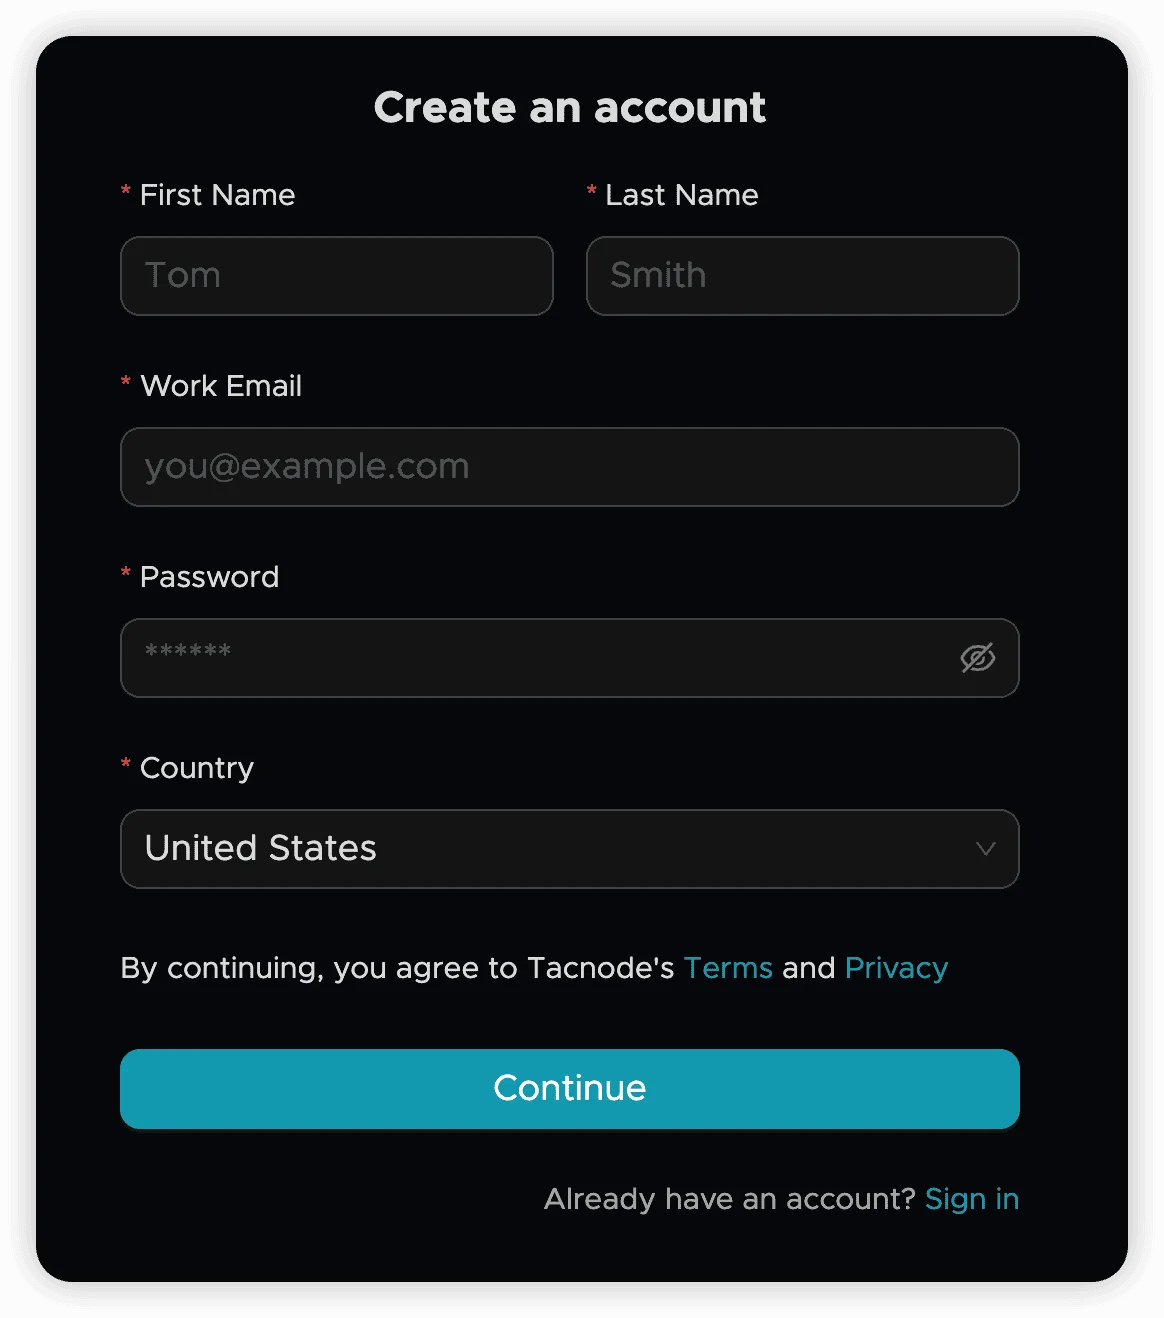
Create Your Tacnode Account
- Visit the signup page: Go to Tacnode Signup
- Register with your email: New users can quickly register using any email address
Install psql Client
You’ll need the PostgreSQL command-line client to connect to Tacnode:
- Download psql: Visit the PostgreSQL official website
- Follow installation instructions for your operating system
Tip: psql is the standard way to interact with PostgreSQL-compatible databases like Tacnode
Step 2: Set Up Your Environment
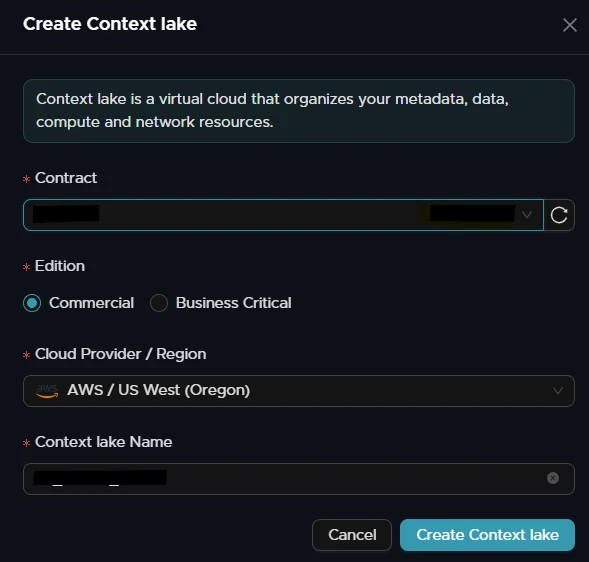
Create Your Context Lake
The Context Lake is your dedicated workspace where all data operations happen.
- Log in to Tacnode
- Navigate to the Context Lake management page
- Click “Create Context Lake” to set up your workspace
Learn more: Context Lake Documentation
Create Your Nodegroup
A Nodegroup is Tacnode’s compute engine that processes all your database operations (DDL, DML, queries).
- Access Nodegroup management in one of two ways:
- From Context Lake Center → Nodegroup
- Direct URL:
https://<cloud_regionid>-app.tacnode.io
- Click “+Nodegroup” to create your compute instance

Learn more: Nodegroup Documentation Regions: Check supported regions
Step 3: Connect to Your Database
Enable Public Access
By default, Nodegroups use VPC networking. For this tutorial, we’ll enable public access:
- Go to your Nodegroup details page
- Click the network settings
- Enable public network access
- Copy the connection details provided

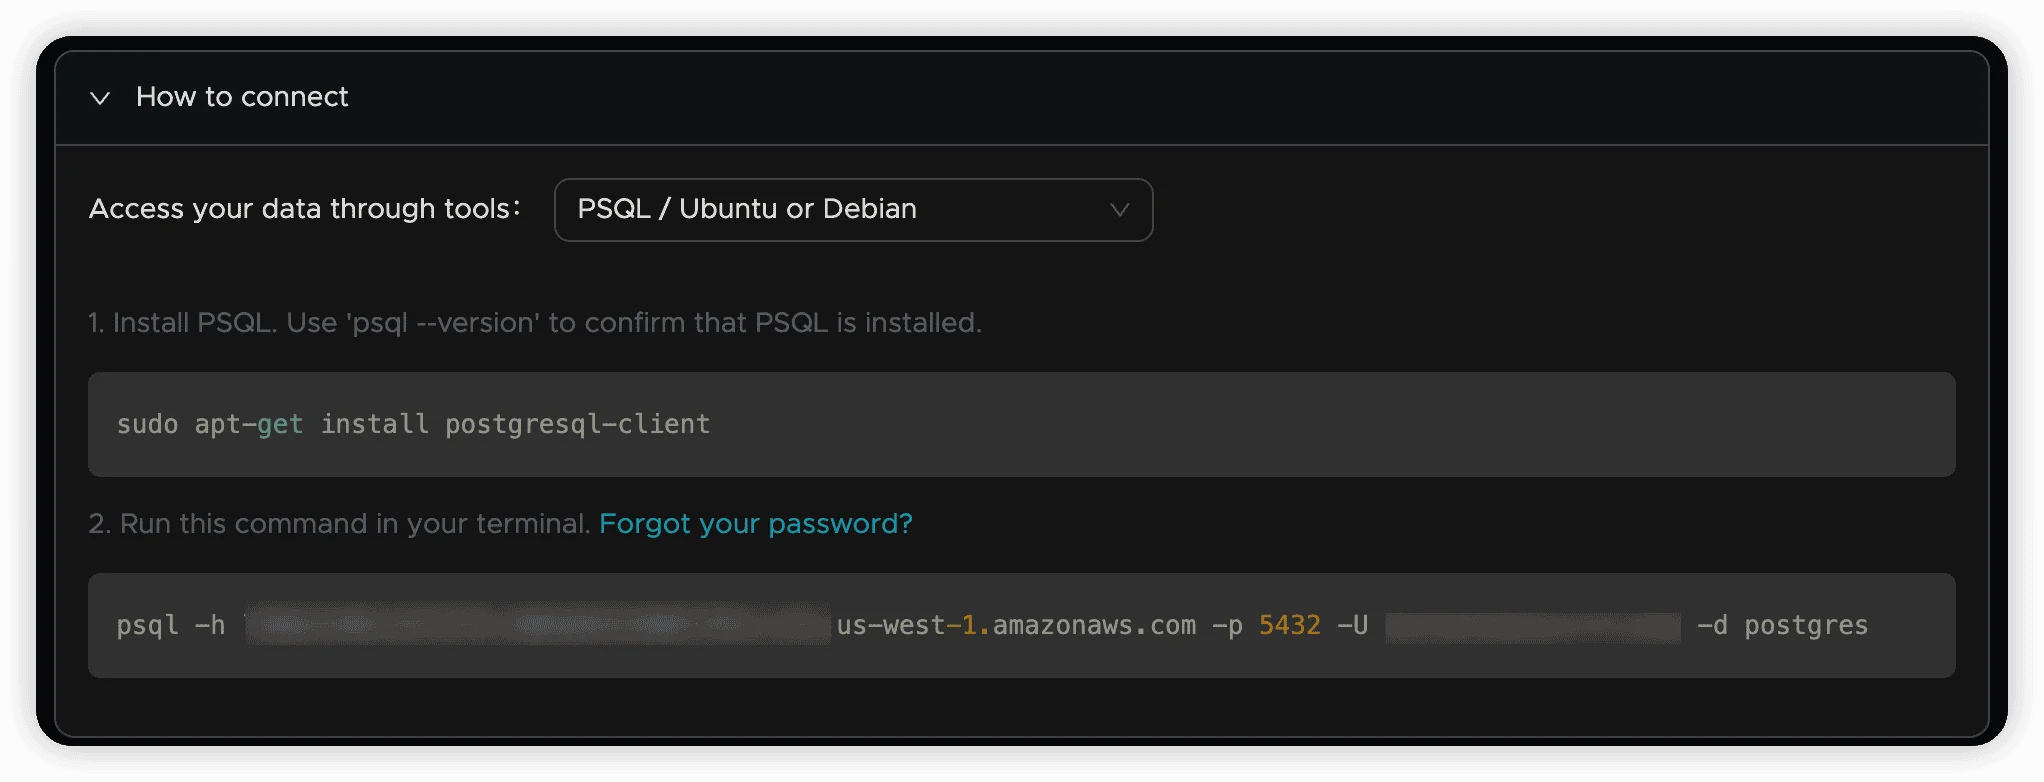
Connect Using psql
Use the following command template to connect:
psql -U <Account> -d postgres -h <Host> -p 5432Where:
<Account>: Your Tacnode account username<Host>: The public domain name from the connection details
Security Note: You’ll be prompted for your password when connecting
Step 4: Create Your First Database
Now that you’re connected, let’s create your first database and table!
Create a Database
Create a new database called tac_test:
CREATE DATABASE tac_test;Switch to your new database:
postgres=# \c tac_test
You are now connected to database "tac_test" as user "judy".
tac_test=#
Success! You’re now working in your new database
Create a Table
Let’s create a simple cars table to store vehicle information:
CREATE TABLE cars (
  brand VARCHAR(255),
  model VARCHAR(255),
  year INT
);
Verify your table was created:
tac_test=# CREATE TABLE cars (
  brand VARCHAR(255),
  model VARCHAR(255),
  year INT
);
CREATE TABLE

tac_test=# \d cars
                       Table "public.cars"
 Column |          Type          | Collation | Nullable | Default
--------+------------------------+-----------+----------+---------
 brand  | character varying(255) |           |          |
 model  | character varying(255) |           |          |
 year   | integer                |           |          |
Great! Your table is ready for data
Step 5: Work with Your Data
Now let’s add some data and run queries to see Tacnode in action!
Insert Data
Add your first record to the cars table:
INSERT INTO cars (brand, model, year)
VALUES ('Ford', 'Mustang', 1964);Result:
tac_test=# INSERT INTO cars (brand, model, year)
VALUES ('Ford', 'Mustang', 1964);
INSERT 0 1
Success! One row inserted
Query Your Data
Let’s see what we’ve stored:
SELECT * FROM cars;Result:
tac_test=# SELECT * FROM cars;
 brand |  model  | year
-------+---------+------
 Ford  | Mustang | 1964
(1 row)
Perfect! Your data is there and ready to query
Update Data
Let’s modify the existing record:
UPDATE cars
SET model = 'NEWMustang'
WHERE brand = 'Ford';Result:
tac_test=# UPDATE cars
SET model = 'NEWMustang'
WHERE brand = 'Ford';
UPDATE 1

tac_test=# SELECT * FROM cars;
 brand |   model    | year
-------+------------+------
 Ford  | NEWMustang | 1964
(1 row)
Excellent! Your data has been successfully updated
Congratulations!
You’ve successfully completed the Tacnode 10-minute quickstart! Here’s what you accomplished:
- Set up your Tacnode Context Lake
- Connected to your database
- Created a database and table
- Inserted, queried, and updated data
Next Steps
Ready to explore more? Here are your next steps:
- Advanced SQL Queries - Learn complex queries and optimizations
- Data Import/Export - Work with larger datasets
- Security Features - Secure your data
Need Help?
- Browse our full documentation
- Join our community forums
- Contact our support team
Happy querying with Tacnode!